Jefferson Lab's Workbench Projects
Base Construction
- Cut two 8 3/4" long pieces from the 1 × 2 white pine board. Miter cut both ends of both pieces to a 45° angle. These pieces will form the right and left sides of the base.
- Cut two 5 7/8" long pieces from the 1 × 2 white pine board. Miter cut both ends of both pieces to a 45° angle. These pieces will form the front and back of the base.
- Use a router to cut a groove 1/4" deep by 7/16" wide on the section of each of the four pieces that will eventually become the top, inside portion of the base.
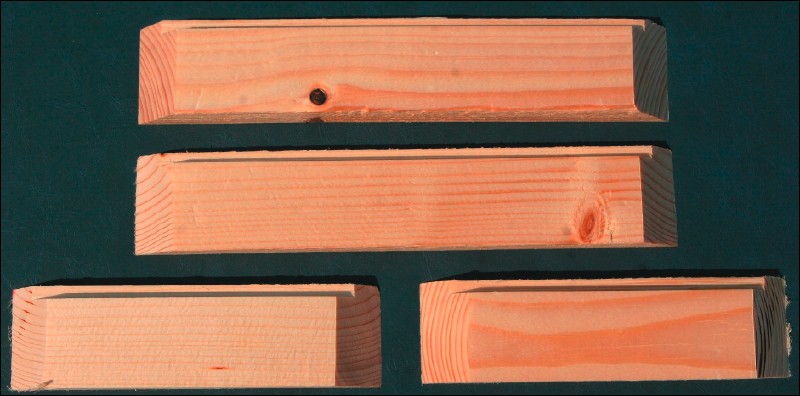
The four sides of the base have been cut and a 1/4" deep by 7/16" wide grooves have been made in the sections which will become the top, inside portion of the base.
- Drill a hole through one of the 5 7/8" long pieces to accept the panel mount banana jack. Since the banana jack is not designed to be used with a material as thick as the pine board, a 1 1/8" diameter Forstner bit should be used to remove the excess wood.
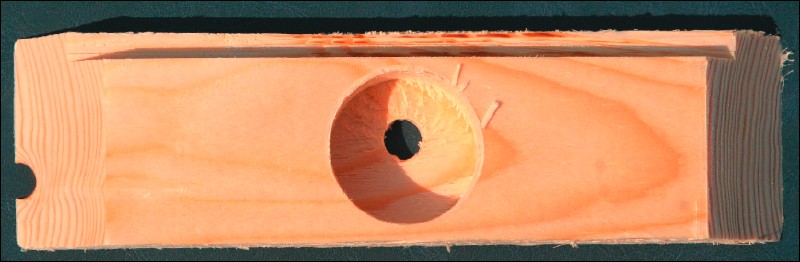
A hole for the panel mount banana jack has been cut into one of the 5 7/8" long pieces.
- Cut a 5 7/8" × 8 3/4" panel from the 1/4" plywood.
- Use the drill pattern found in Appendix A to drill the appropriate holes in the plywood panel.
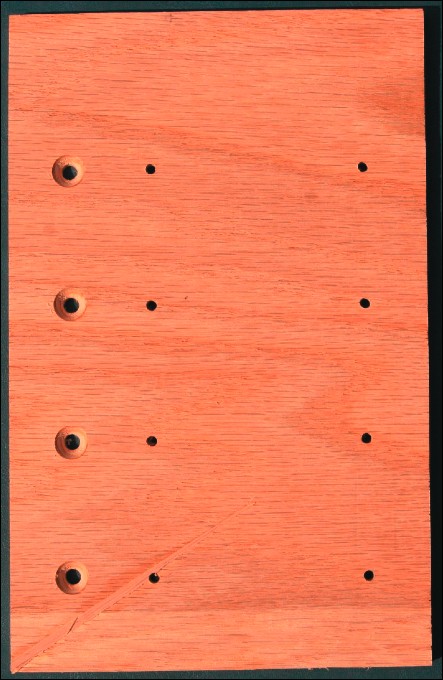
Holes for the LEDs and fuse clips have been drilled in the plywood panel.
- Join the four sections of the base together. Use wood glue and brads to secure the joints.
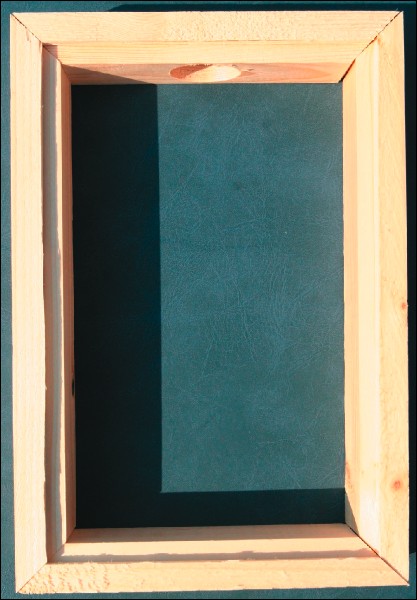
The base pieces have been joined together.
- Use wood glue to attach the plywood panel to the base.

The plywood panel has been glued to the base.
- Paint the base, if desired.
- The base is now complete. It's time to install the hardware!
Citation and linking information
For questions about this page, please contact Steve Gagnon.