Jefferson Lab's Workbench Projects
Support Frame Assembly
- Take one of the support arms and align its center line with one of the edges of the base board. The outer face of the support arm should be flush with the edge of the base board and the support dowels should point towards the center of the base board. Secure the support arm to the base board with two #8 × 2 1/2" wood screws. To prevent the support arm from splitting, it may be wise to extend the pilot holes into the support arm. Here is a trick for marking their locations on the end of the support arm: Remove the support arm and screw the screws into the baseboard to a point where their tips are just extending past the base board. Align the support arm and press it down onto the screw points. This will leave an impression in the end of the support arm that will show you where to drill the new pilot holes.
- Attach the second support arm just like you did the first.
- Attach the top board to the support arms with #8 × 2 1/2" wood screws. The faces of the support arms should be flush with the ends of the top boards. Again, it may be wise to drill pilot holes into the support arms.
- Oddly enough, that's it! Hang the end of the ramp on the support dowels and you are good to go!
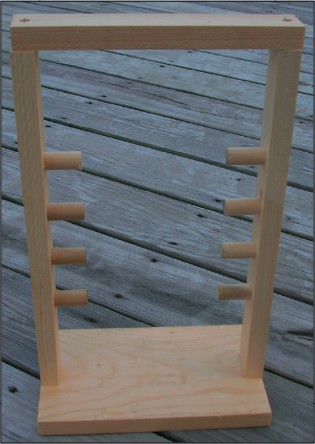
A completed support frame.
Citation and linking information
For questions about this page, please contact Steve Gagnon.