Jefferson Lab's Workbench Projects
Magnet Support Frame Construction
- Cut a 9 13/32" long piece from the 1 × 2 white pine board. Miter cut both ends to a 45° angle. This piece will form the top rail of the magnet support frame.
- Drill a hole through the center of the top support rail to accept the 5/8" diameter hex bolt. In order to provide enough room for two hex nuts, a Forstner bit was used to remove some excess wood.
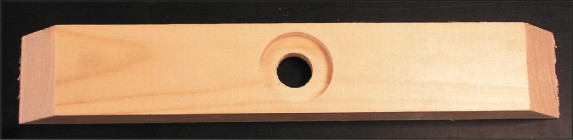
The edges of the top support rail have been miter cut and a hole has been drilled to accept a 5/8" hex bolt.
- Cut two 17 1/2" long sections from the 1 × 2 white pine board. Miter cut one edge of each piece to a 45° angle. These two pieces will form the side rails of the magnet support frame.
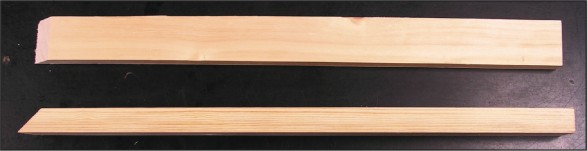
The two side rails, one seen edge-on.
- Join the top and side rails together to form a U-shaped object. Use wood glue and finishing nails to secure the joints.
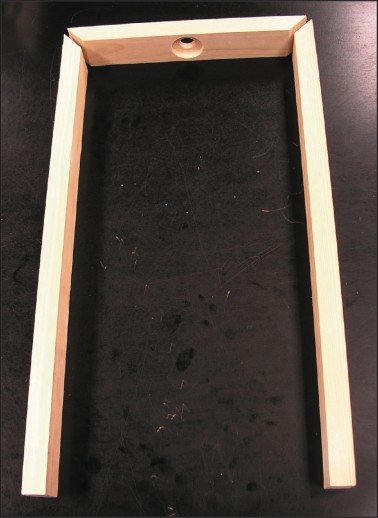
Seen prior to joining, the top and side rails form the magnet support frame.
- Wow, that was easy. The magnet support frame is complete.
Citation and linking information
For questions about this page, please contact Steve Gagnon.